So, last we chatted I had measured the yarn on the warping board and threaded the yarn through the reed or “sleyed” the reed, in fancy weaving terms. Next up, moving the reed to the loom and locking it into place.
The reed slides into a track in the beater bar at the front of the loom. Which, by the way, if you ever come across a loom with no yarn on it, you can tell which side is the front by finding the moving piece – the beater bar! Beater bar is always in the front. (I don’t imagine your life will depend on knowing that information. But, better to be safe than sorry!)
The reed and the lease sticks came over together. So, I tie up the lease sticks so the yarn will move through them smoothly. If they just dangle, I find the yarn tends to get clogged up!
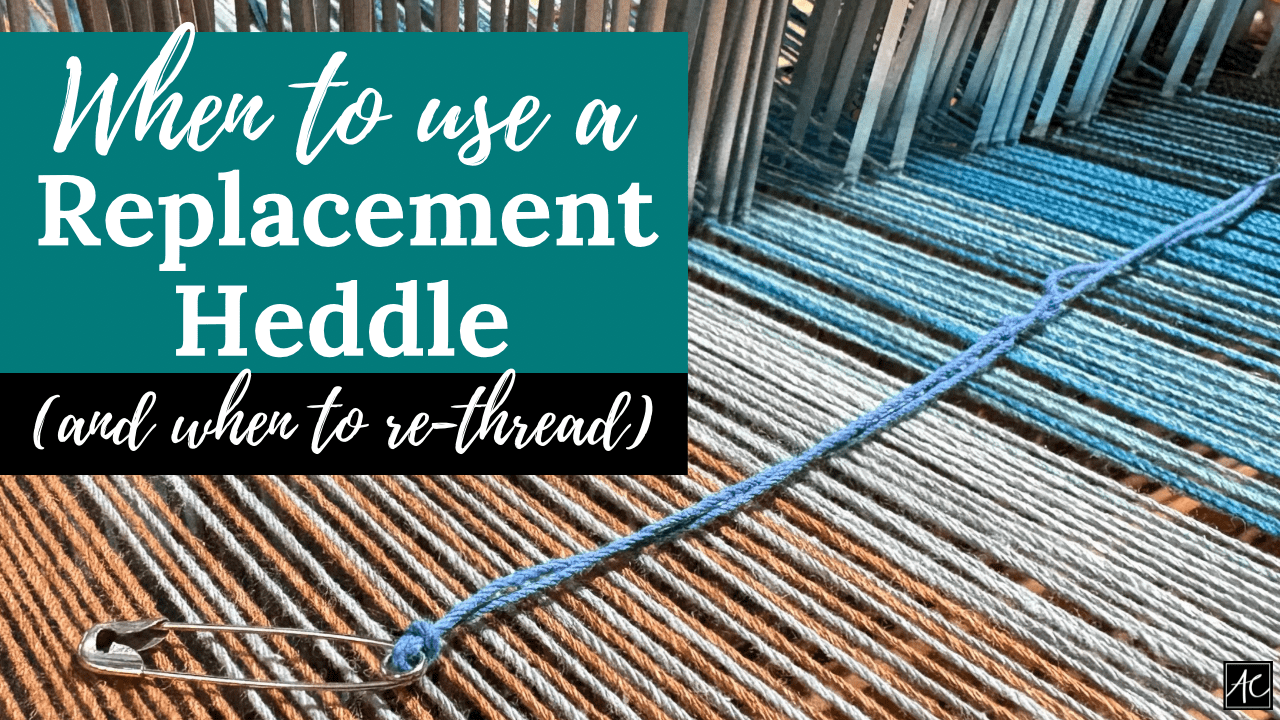
From here, I collapse the back of the loom so I can sit as close as possible. I drop the weaving bench down so I’m not hunching. And I begin threading the heddles! Heddles are thin, metal pieces with an eye in the middle.
I have a 4-shaft loom, which means I have 4 rows of heddles. The order you place the yarn into the heddles will help determine your weaving pattern. For this project, I’m keeping it simple – 1-2-3-4-1-2-3-4. Easy-peasey!
Typically, I like to start in the middle of the loom and work my way out. If I don’t have enough heddles on the loom, it is easier to add them at the edges. If I get caught without enough heddles and I’m somewhere in the middle, I have to add them AND re-thread what I’ve done. Believe me, not so fun!
I like to put in a knot each inch of the project – again, to keep me honest. (I have no doubt that the paranoid, anal, left-brain part of me is showing. But, what’s a girl to do?)
(My photos look a little purple here! The yarns are blue, I promise!)
I included a picture looking down on the loom so you could get an idea of how the heddles slide along the rails of each shaft. It’s pretty genius considering the heddles can then accommodate small yarns, bulky yarns, close spacing and wide spacing! They can do it all! Yay, heddles!
Just for a little perspective, you can check out the view from the back of the loom. I moved the bench out of the way for this picture. But, you’ll typically find me sitting nice and close so I don’t get too sore. Ergonomics become important when it takes you 2 hours to do one task! Gotta be comfortable!
Next up, let’s wind everything on to the loom, shall we? Can’t wait! Talk to you soon…


