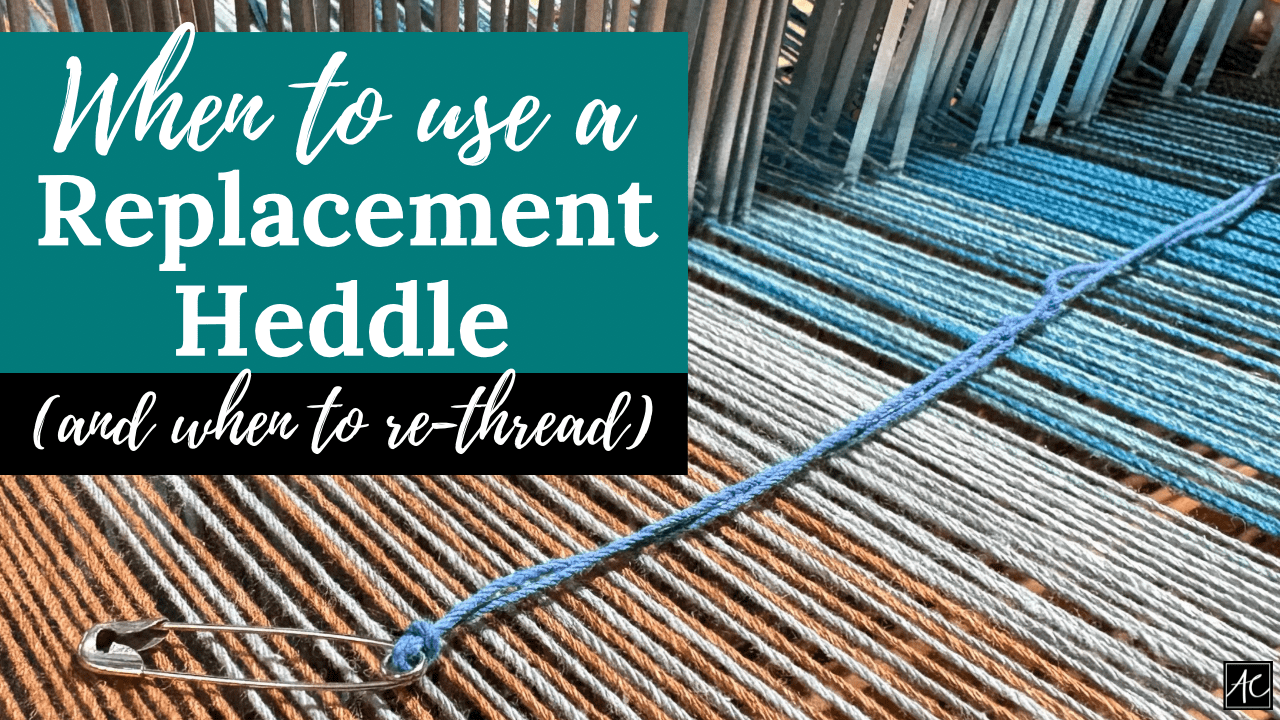
So far, the yarn has been measured, the reed has been sleyed and the reed has been placed into the loom. Next up, threading the heddles! Heddles are thin metal strips with an eye in the middle. They are designed to fit on 2 rails (upper & lower) so they can be slid back and forth. Each yarn gets its own heddle.
I have a 4-shaft loom, meaning I have 4 frames in the body of my loom that can lift individually providing a whole range of pattern options. Looking below, you can see the 4 rails on the bottom – each one of those is a shaft that can lift independent of the others. Each shaft contains lots of heddles! When planning for this project, I had to determine which yarn will go into which heddle and then, be sure I had the right counts!
I’ve chosen a plain weave in this instance, which is pretty much what it sounds like! If you’ve ever made a potholder out of cotton loops, you have enjoyed plain weave – over, under, over, under! So, for this particular pattern, I placed the yarns into the loom in a 1-2-3-4 order. Then, the trick is to keep it up for the 432 yarns in the project!
Also, check out the photos farther down where you can see the entire loom. Part of the reason I love my Schacht is that the back can completely fold in. There is a beam that lifts off the back and allows the weaver to get really close when doing this portion of the process! Typically, I sit on a step stool or a lowered bench to make sure I’m not leaning over uncomfortably. For the next step, the beam will go back on and the back will be extended. Just a few more steps and there will be weaving!


