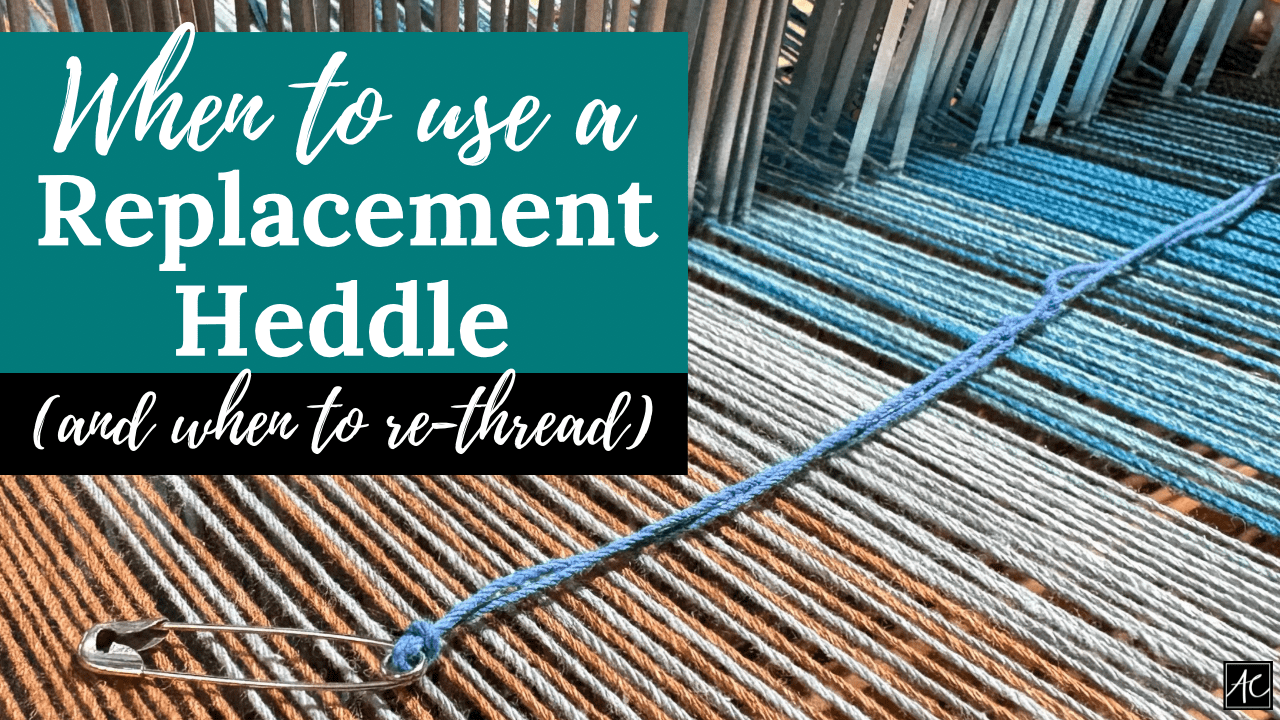
There’s just one measly step left before the weaving can commence! But, it’s a pretty critical step – winding on. To start, I expanded the back of the loom and tied on the yarn. Then, the yarn was pulled through the loom at an even tension and wound on the back beam. I like to use yard sticks to keep everything even and because my loom is 36″ wide, it’s the perfect solution! The yarn will develop mountains and valleys if you don’t use something to roll it on smoothly, thus effecting the tension. As you can imagine, tension is everything!
This part of the process can become a little tedious – stand at the front of the loom, even out the yarns, move to the back and roll on… and repeat… again… and again. I’m guessing that part of my impatience is simply due to the fact that I’m so close to weaving – the best part! Once the yarn had been completely rolled onto the back, I tied the yarns to the front. The trick here is to create even tension across the entire width. After the knots and tension are all set, the weaving can begin! The loom has been officially “dressed”! Stay tuned for the magic to begin…


