Without further delay, let’s weave! I’m going to start things off with a bit of toilet paper to even out the yarns so they aren’t bunched together.
With weaving, it’s important to do a bit of sampling. Especially with a project like this, there are going to be certain kinks you have to work out before the main event.
Once the sampling is finished and I have a better grasp on what’s what, I’ll start the project!
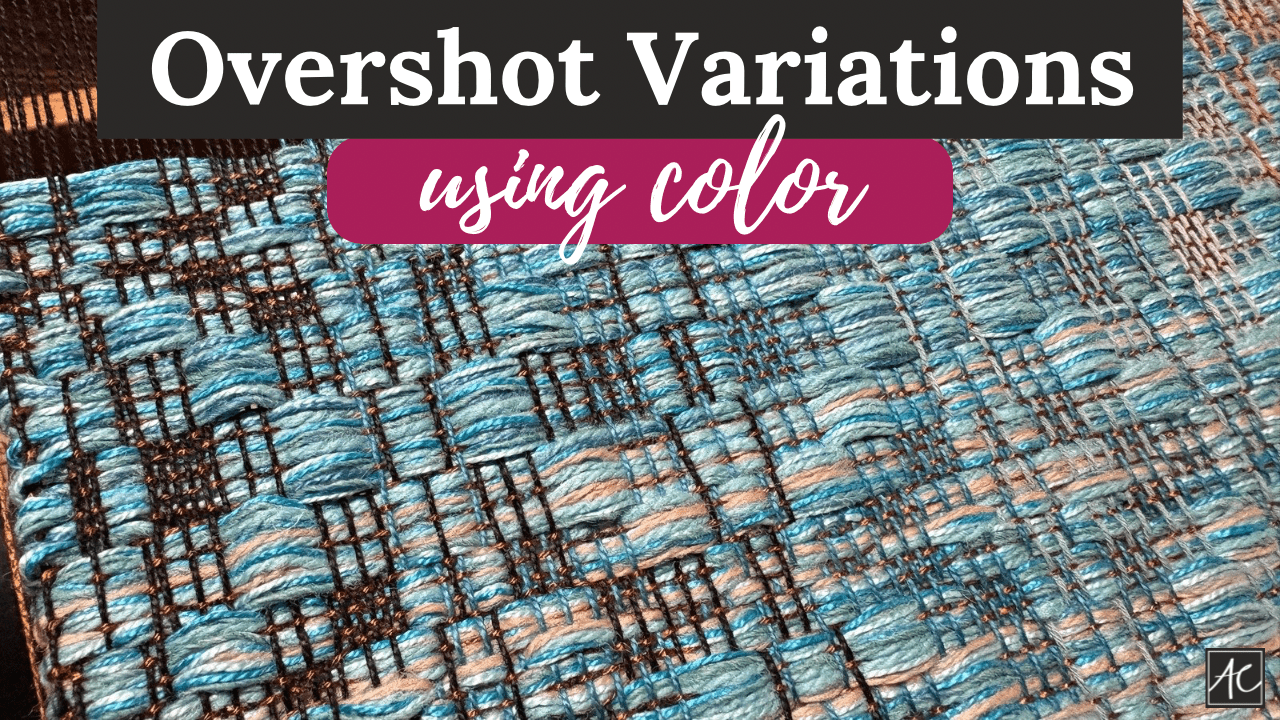
When weaving overshot (that’s the type of pattern this is), you need two shuttles. One shuttle has a fat yarn that makes the pattern and the other has a tiny yarn that holds it together.
Having a predetermined concept to follow is good news, and bad news. The good news being I have less decisions to make as I go. The bad news being I have to follow the plan closely to be sure the size and scale work out in the end. Translation – lots and lots of measuring!
Because the fabric rolls onto itself, it’s a little tricky keeping the inches straight. So, typically I’ll use a yarn in a contrasting color, measure it to the length I need, and pin it to the fabric. When the end of the yarn and my weaving meet, I know the fabric is long enough!
And so it goes! Switch the shafts, throw the shuttle, switch, throw, switch,… you get the idea! Next up, I’ll finish the weaving and cut it off the loom. Stay tuned…


