And the hits keep on coming! My luscious brown yarn has been measured on the warping board and sleyed in the reed. Next up, into the loom!
As you can see in the top picture, the reed slides into a trough and a wood header locks it in place so it doesn’t move around. The reed sits in a piece called the beater bar. It’s a key player once I start weaving!
If you remember from the “sleying the reed” pictures, I have one side of the reed with the long, flowing, twisting yards of yarn and I have one side with the short ends. The short ends face towards the back because it is easier to thread them through the heddles!
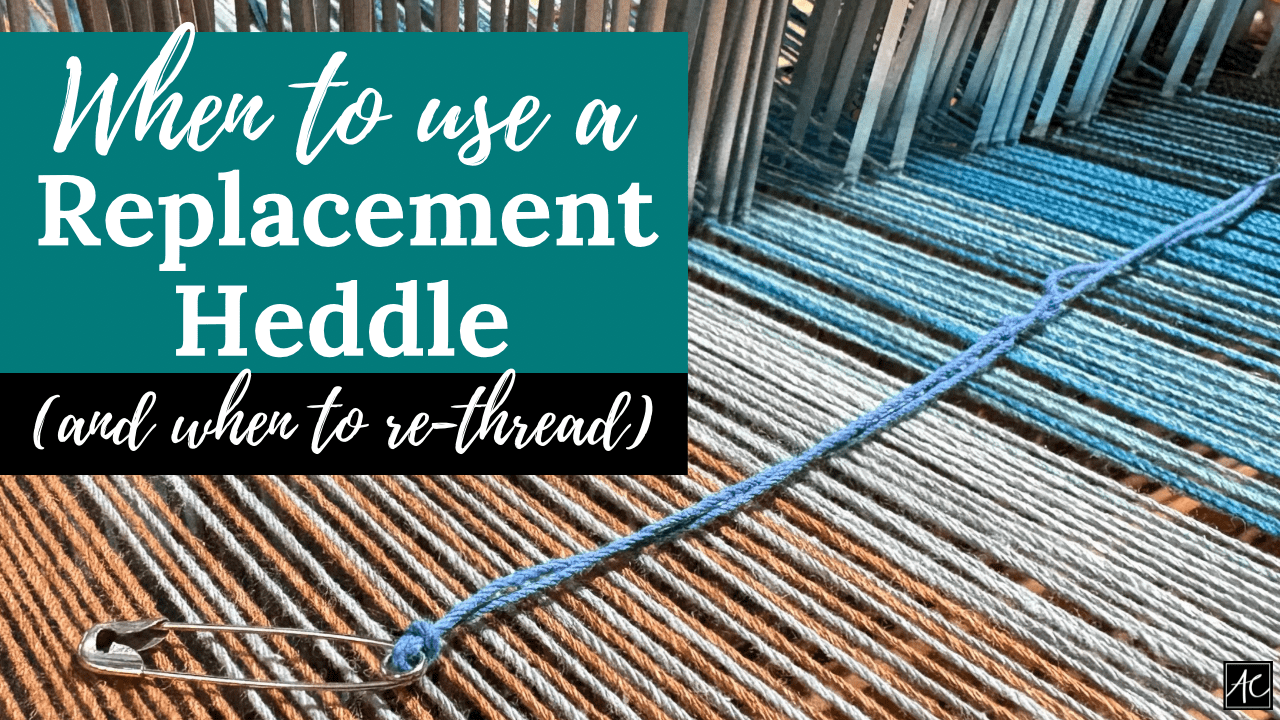
Heddles are long, thin metal pieces with an eye in each one. By choosing which yarn goes with which heddle, you determine your options for the weaving pattern. There are many more specifics that go into it. But, there’s no need to bog you down with all that! You are welcome to just enjoy the interesting pictures!
So, one thing you learn quickly as a weaver is that you need to have plenty of heddles on the loom. Typically, I’m great at counting them all before I start! But, I got a little too cocky this time and was short by a few – ugh! And let’s just say, if there was ever a time to have a magic wand, this would be it! Fixing the problem involves releasing the top and bottom rails, adding more heddles and trying not the mess up the progress I’ve already made! Lesson learned, always be sure you have enough heddles! (And note – there are no photos documenting my time fixing the missing heddle predicament, since I was too distracted trying not to throw and break things! We all have our moments… )
And the heddles are ready! (Insert happy dance here!) Next up, tying the yarn to the back of the loom and winding on. The weaving magic is just around the corner! Talk to you soon…


