Last we chatted, I was winding the yarn through the loom. This time around, I thought I’d show you a few photos that will hopefully connect some dots!

Love the mechanical bits!
The loom is mostly wood. But, there are some critical mechanical pieces to it! One being the ratchet that holds the tension. Without this, we would just have yarn laying around all willy-nilly! It would be complete anarchy, I’m telling you!

Ratchet – close up
So, the ratchet has been doing it’s job and the yarn is all wound perfectly through the loom (well… since no one’s actually grading me, let’s just imagine it’s textbook perfect!). Time to knot the yarn to the front.

Tying on the Front!
Both the front and the back of the loom have rods that the yarn is tied to. For whatever reason, I was taught that the knots on the back of the loom just had to be functional – square knot was fine. On the front, we use a fancy knot! It’s a bit fussier to do, but I’ll admit it’s easier to unknot when the project is finished. However, if for some reason, I am running short on yarn, I’ll revert to a good ‘ole square knot in a heartbeat! (Takes less inches to tie it!)

Fancy knot on the front!

All knotted up!
In both the front and the back, the rod is lashed to the beam. A thin rope is used for the lashing and I’ve only snapped it once in all the projects I’ve done! When that happens, you simply tie a knot in the rope and move on! Easy enough!

The rod is lashed to the beam
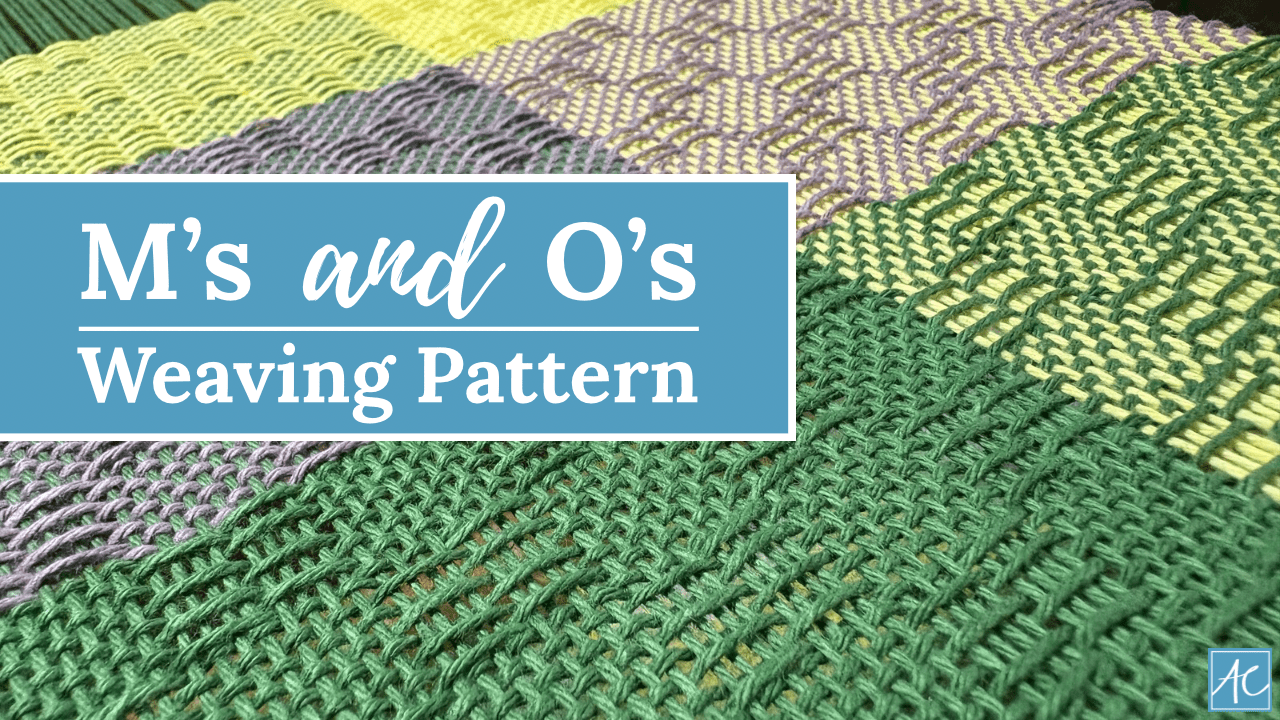
In the photo below, you’ll see a close up of the rope that then hooks into the beam below. You can also see the foot pedals, which are called treadles. The order you press them down helps determine the weaving pattern.

It’s all connected!
Checking out the top of the loom, the reed is tucked into the beater bar (seems like so long ago when we chatted about sleying the reed!). Once I start weaving, the beater bar will move forward and back to squish the yarns in place. (That’s a technical term – “squish”! “Smash” works, too! )

View from the top of the beater bar
Below is a close up of the reed sitting in the beater bar…

See the reed in the beater bar?
Hopefully, the photos filled in a few blanks and set the scene for the good stuff coming up! Next, I’ll prep a few neckties, or 80, and start weaving! Talk to you soon!