The reed has been sleyed and I’m ready to slide it into the loom!
So, imagine if you will, I’m carrying the reed with all the yarns over the loom – trying not to step on the dangling bits. (The journey is all of 10 feet!) Once I get there, the goal is to lay the reed into the beater bar without pinching any yarns in the process. It’s a funny little dance, but always satisfying to see it come together!
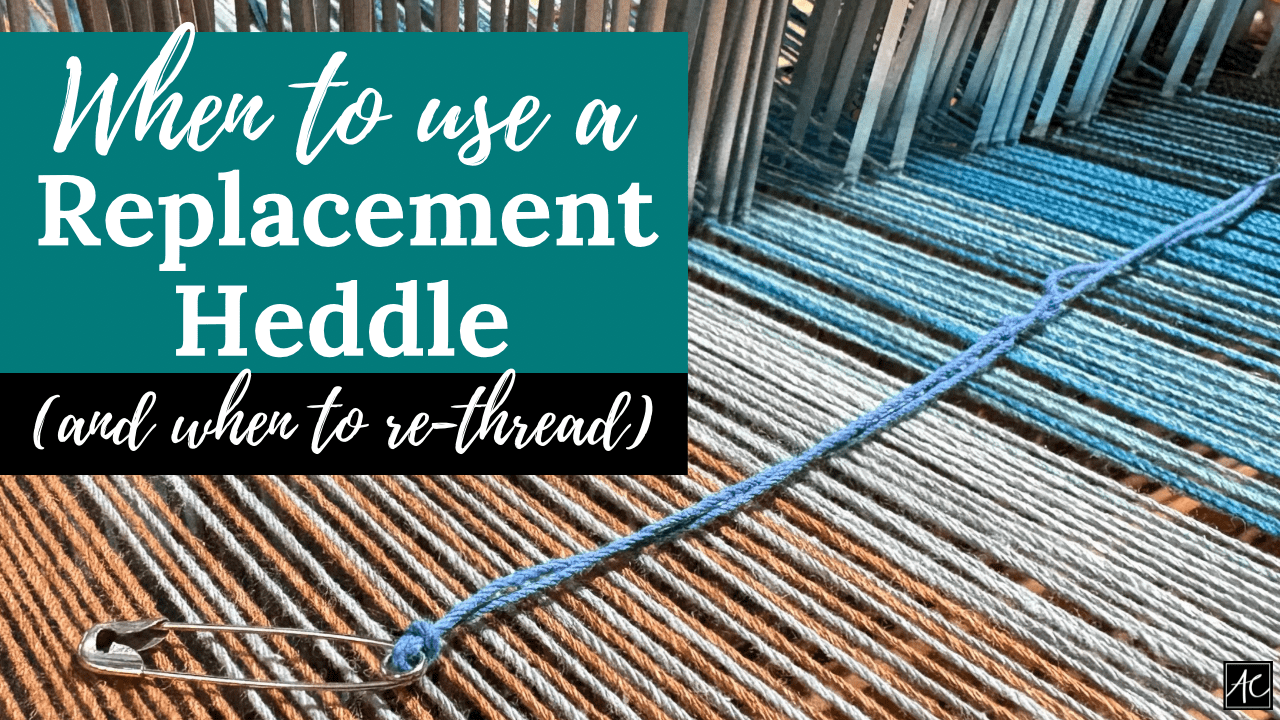
Once the reed is in, I do a little tying to secure the moving parts. I’ll take some scrap yarn (the electric green yarn) and tie the lease sticks to the reed and the front beam so the various elements don’t wiggle too much while I’m threading the heddles. I’m all about removing as much frustration from the process as possible! A happy weaver is always the goal…
Heddles are thin, metal pieces with an eye in the middle of each. Each yarn will get its own heddle.
I have a 4-shaft loom, which means I have 4 frames that lift and lower to create the weaving pattern. There are heddles that live on each shaft. So, the order that I thread the heddles will help determine the finished pattern! It’s a little tricky to explain, but trust me when I say you want to pay attention here because fixing the threading later is just not fun!
For this project, I am doing a simple threading, 1-2-3-4-1-2, etc. Easy enough! I typically like to start in the middle and work my way out. And as a way to double check my numbers, I knot the yarn every inch just like when I sleyed the reed. Again, could be overkill, but it helps me sleep at night…
Next up, I’ll wrap up this lovely threading experience and start tying the yarns onto the back of the loom! It’s going to be great! Talk to you soon…


