Isn’t there a Christmas song like that? Nooo…. pretty sure it’s “Silver and Gold”… I have plenty of friends who would enjoy the purple version better! So, how ’bout it? Let’s dive into the next project with these colors!
Because I don’t have actual silver metallic yarn, I’ll be using a light gray and a white instead. I’ll use the colors above to “dress” the loom (set up the loom). Then, the plan is to dig into my collection of neckties and use the “silver-y” ones for the shuttle. While I’m not usually a sparkly, glittery sort of weaver (if you hadn’t already guessed!), this should be a fun change! And there are always occasions when you need a cute, little silver bag! So, here goes!
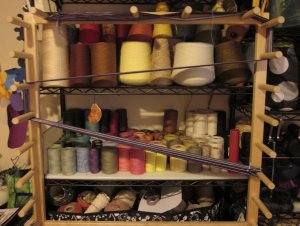
First up, measuring the yarn. I think it’s important to show the warping board and the process of winding the yarn, in order, around the pegs. But, I always cringe because the photos almost always show more of the room than I’d like. I don’t carry all the stereotypical “artist” tendencies. But, the messy part – I’ve got in spades! At least the capacity for it. So, for my very neat friends, try to overlook the other stuff! Just focus on the warping board… please… I’ll feel better if you do…
When starting a project, there is lots and lots of math. You add this, multiply that, and come up with a final length for the project. Then, you add a little more for knots and that becomes the length for your guide string. The guide string then goes onto the warping board and becomes the path that all the other yarns follow.
Because I’m changing colors quite frequently, there is a lot of “cut the yarn, knot the end and tie on a new color” happening. Thus, the multitude of knots you see above!
Part of the goal when working on the warping board is to put all the yarns in order for the project so you don’t have to worry about it again! One way to do that is by using the “cross”. You pick 2 pegs (usually at the top, could be at the bottom) to be the framework. My cross pegs are at the top of the warping board near the starting peg. By sending the yarn over the pegs in different directions, you develop an order that can be translated once it’s off the board. I don’t mean for it to sound cryptic, but it’s a little tricky to explain. Maybe one day I’ll do a video for you – that would be easier! In the meantime, trust me – the cross works!
Once everything has been measured, I take a contrasting-colored yarn and tie it in critical spots around the cross, so I can reproduce the order later! Then, I do a loose twist and slide it off the warping board! This project was big enough that I broke it into (3) different groups of yarns. I will put it all back together at the next stage, no sweat!
For my next trick, I’ll be sleying the reed! Woohoo! Love this part! You won’t want to miss it! Talk to you soon…


