Let’s get to the good stuff, shall we? Weaving, here we come!
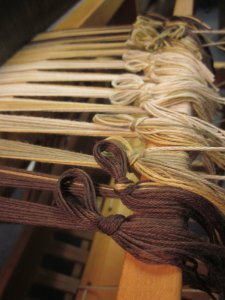
I tied the yarns to the rod at the front of the loom, keeping everything as evenly tense as possible!
So, for this project, I’m creating a narrow table runner with long, twisted fringe. Normally, I would tie the yarns to the rod and immediately throw in some toilet paper to space out the yarns and be off to the races! But, in this case, I need more inches at the front of the project for the fringe. So, I forwarded everything about 10 inches and THEN placed the TP!
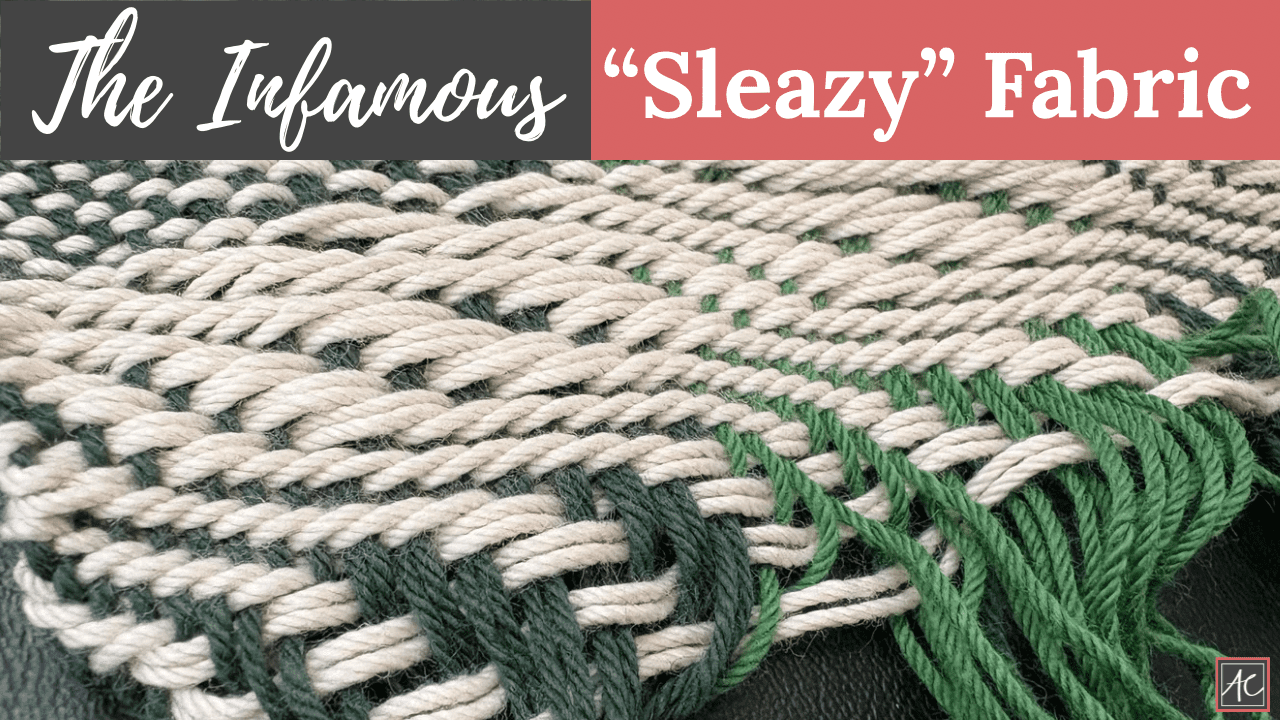
This table runner will be created using a weaving style called “rep weave” or “ripsmatta”. You’ll see this type of weave often used in placemats! I love it for a whole number of reasons! Ultimately, it is just a plain weave – meaning that at any given time, every other warp yarn is up and the others are down. It’s just like a pot holder – over, under, over, under. Simple, right? But wait, there’s more! In rep weave, you smash the warp yarns really close together causing a ribbed effect to the fabric. And because the yarns are so close to each other, you don’t see the yarns from the shuttle at all! (Instead of my usual 12 yarns per inch, I’ll do 24 or more!) This is called a “warp-faced weave”. See all the amazing things you are learning??
It takes 2-shuttles for a rep weave. One shuttle has either one very fat yarn in it, or a collection of yarns. And the other contains a very fine yarn. I usually use sewing thread in the boat shuttle and a big, group of yarns in the rag shuttle. But, mix and match as you like! The weaving police won’t come for you if you do it differently! Promise!
Rep weave typically has a very geometric feel to it. The way you weave it creates blocks of color. With a 4-shaft loom, you work with (2) different rows. I have one row that produces a gold block on the far right, while the other row does not.
The great news about rep weave is that it weaves up very quickly! The bad news is that the planning can be strenuous. You should see my notes! They’re hardly legible – even for me, the crazy artist laying out all the chicken scratch!
In the photo above, you can get a good look at the role of each shuttle. Where the big yarn is woven, you can see the warp yarns clearly. With the tiny yarn, you see hardly anything. And where I have 2 big yarns back to back, you can see the rows switching which one is on top. I’m not sure that’s the clearest explanation. But, hopefully you get the gist!
Next up, more weaving! I’m making progress! We’ll have a beautiful table runner in no time!!! Talk to you soon…


