
When last we chatted, I was in the middle of dressing my table loom. After a wonderful week in sunny Florida, I am back in NW Indiana finishing up the process of putting some colorful cotton yarn into my fabulous weaving machine! Here goes…
First out of the gate, it’s time to sley the reed! I love this part – it’s my favorite, hands down. (The reed looks like a rectangular frame with metal slots evenly spaced from end to end. Its goal? Keep the project at the correct width.) There’s something so satisfying about placing each yarn in the correct slot. Yum!! I’m sure that the reason I love this part of the process is the same reason I was a really good page at the library. Big, fat organizational tendencies. (At least when it comes to yarns and books!) Thus, my love of sleying the reed!
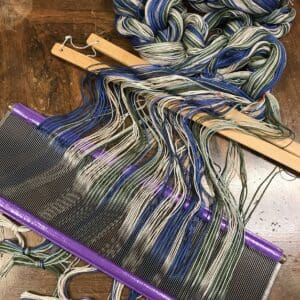
Sleying the reed
My reed is about 14″ wide, leaving me a little space on either side of my project. Because of the size of the cotton, versus the size of the space in the dent (dent refers to the area between metal spacers), I can just use my fingers. This particular set of 144 yarns took me about 45 minutes to get into the reed. The reed, with all the yarns attached, is then placed into the beater bar in the loom – knot side facing the back.
*Do you know how you can tell the front of the loom from the back? The beater bar is always in the front! (The beater bar is the moving piece that a weaver pulls toward her after each throw of the shuttle.) Pull that bit of random trivia out at your next party – you’ll be a big hit!! (Or not…)
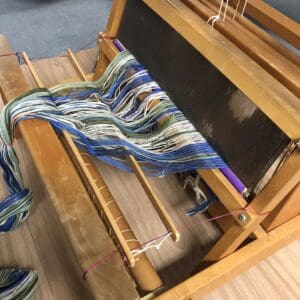
Reed goes into the table loom
My next move is threading heddles! Weaving has some of the best terms and phrases, don’t you think? “Sleying the reed”, “Threading heddles”, “Dressing the loom” are just a few examples of cool stuff you get to say when you’re a weaver! If that’s not enough to convince you to try it, I don’t know what is! But I digress…
Threading heddles
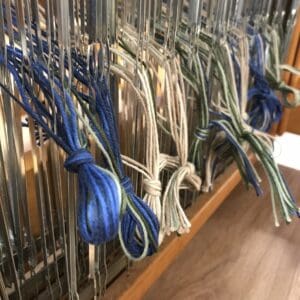
Heddles are slim, metal pieces containing an eye in the middle. (I should clarify – my heddles are metal, but they don’t have to be! You can find them made out of strings, or other materials.) The top & bottom of each heddle slides along a bar so it stays upright. Each shaft/harness (these are the frames that go up & down while weaving) contains a whole bunch of heddles. The sole purpose of a heddle is to hold a yarn on the correct shaft. So, when I thread a yarn through a heddle on shaft #2, and shaft #2 lifts up, so does that yarn. Do you follow? My goal is to be sure each yarn is with a heddle on the correct shaft. Whew!! Wordy, much? Onward!
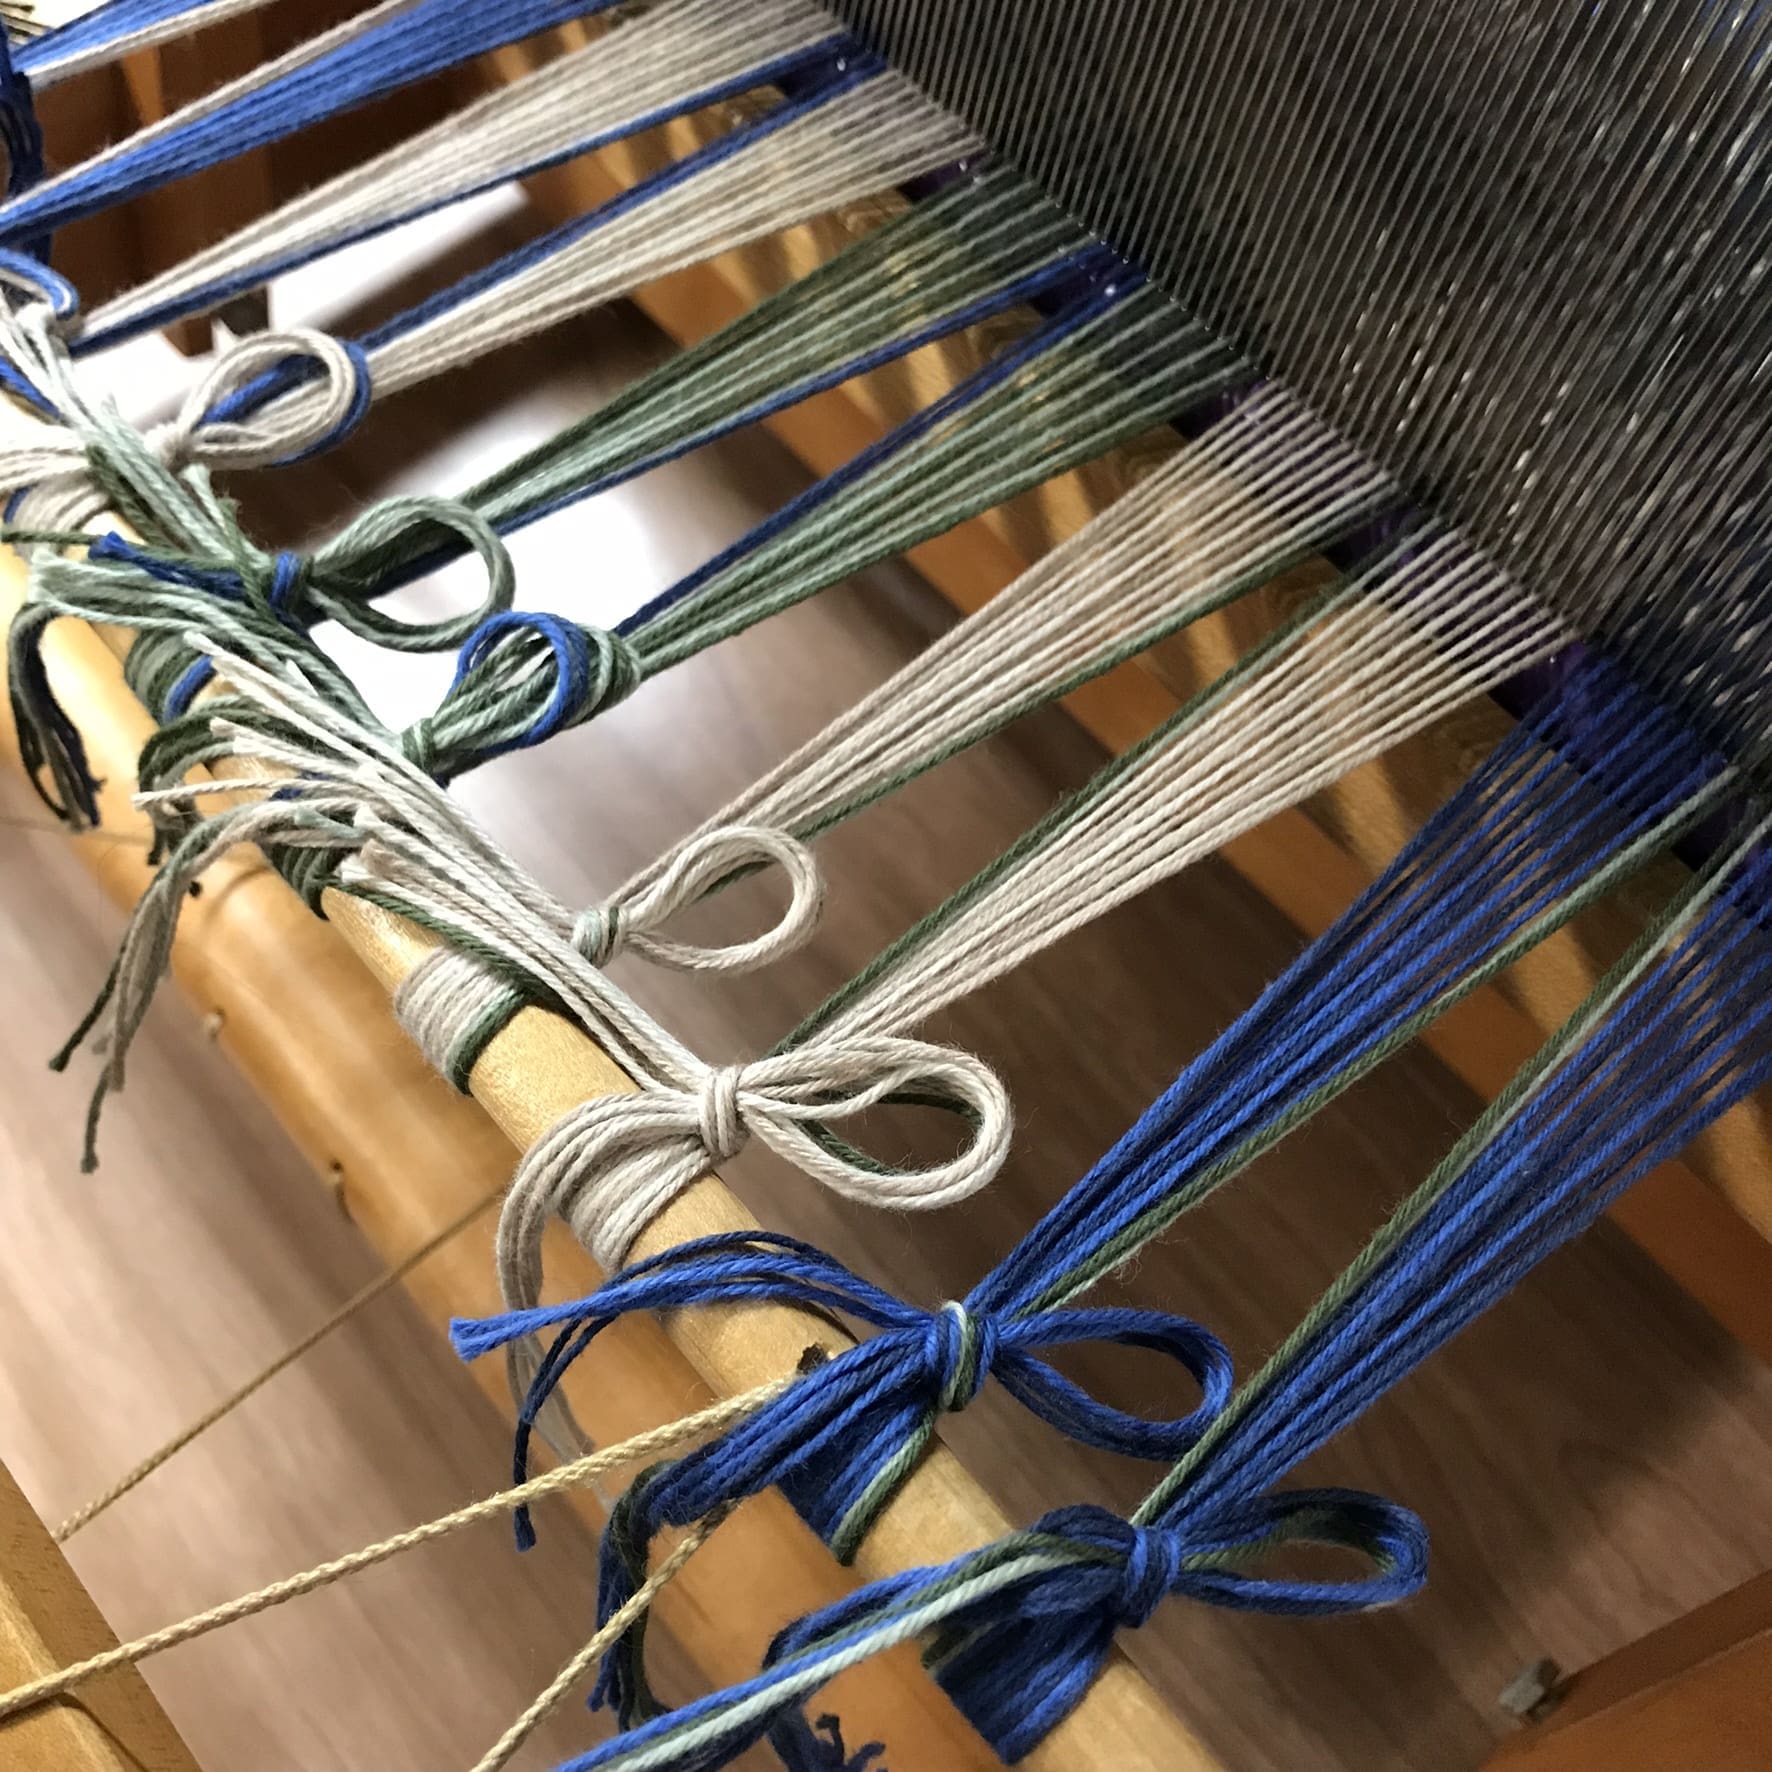
Tying yarns onto the back of the loom
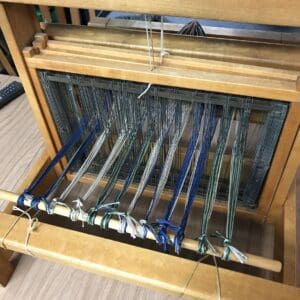
After each yarn has a heddle to call home sweet home (this step took me about 40 minutes), they are all tied to the back of the loom. I do a little winding, adding some craft paper to keep everyone level, and voila! I’m ready to tie the other ends to the front.
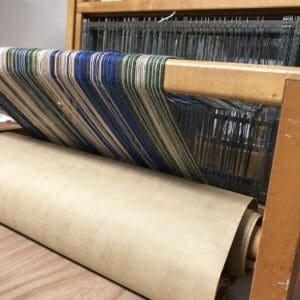
Winding on
It took me an additional 30 minutes to wind the project into the loom. So, from start to finish, it took me 2 hours and 45 minutes to dress my table loom. (Whereas the cool nomenclature might have lured you in, I just wrecked it with the timing, didn’t I? Ah well. Not everyone is meant to be a weaver!)
Next on the docket, let’s weave this beaut, shall we? Happy weaving, everyone!
Ready to weave!